
KotlinとSwiftとVC++(MFC)のアナログ時計の文字盤表示処理比べ

こんにちは。川上です。
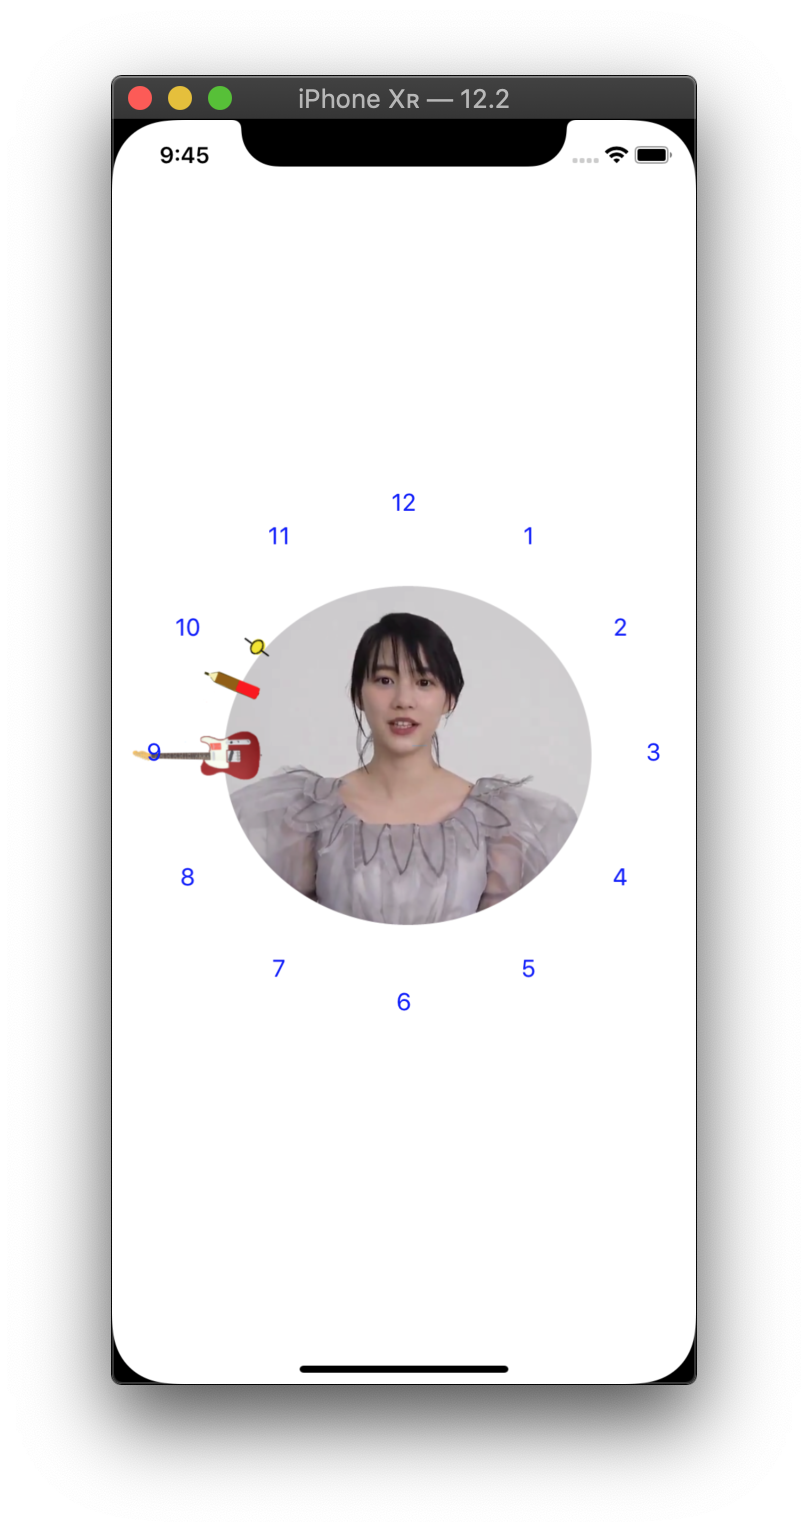
KotlinとSwiftとVC++(MFC)で、順次にアナログ時計アプリを作ってきました。
それぞれでの数文字盤の表示処理が出来てたので、忘れん様に見比べてみたの。。。
・Kotlinの処理

  // ⚡️--ライフサイクルでのレイアウト処理表示後
 override fun onWindowFocusChanged(hasFocus: Boolean) {
    val metrics : DisplayMetrics = this.getResources().getDisplayMetrics()
    val width = metrics.widthPixels   //width
    val height = metrics.heightPixels
    // 半分の3/4の長さ
    var hankei_bs = (if (width > height) height else width ) / 2
    hankei  = hankei_bs * 3 / 4

    // 時計盤の数字表示
    dispClockBoard(hankei)
 }

 // 時計盤の数字表示
 private val PARTITIONS = 12
    fun dispClockBoard(hankei_dp :Int)
    {
        val baseVw = this.base_view
        val radius = resources.getDimensionPixelSize(R.dimen.circle_radius)
        val textsize = resources.getDimension(R.dimen.text_size)

        for (i in 1..PARTITIONS) {
            val textView = TextView(this)
            textView.setTextSize(TypedValue.COMPLEX_UNIT_PX, resources.getDimension(R.dimen.text_size))

            val layoutParams = ConstraintLayout.LayoutParams(
                ConstraintLayout.LayoutParams.WRAP_CONTENT,
                ConstraintLayout.LayoutParams.WRAP_CONTENT)

            layoutParams.circleConstraint =  base_png.id

            // 時計数字位置の取得
            layoutParams.circleAngle = CircleUtil.computeAngleByIndex(PARTITIONS, i)
            layoutParams.circleRadius = hankei_dp  //文字盤の半径値
            textView.layoutParams = layoutParams

            textView.text = i.toString()

            // 時計盤の数文字の組み込み
            baseVw.addView(textView)
        }
    }

ーー + ーー
object CircleUtil {
    private const val CIRCLE_RADIUS = 360
    fun computeAngleByIndex(partitions: Int, index: Int): Float {
        val angleUnit = (CIRCLE_RADIUS / partitions).toFloat()
        return index * angleUnit
    }
}
・Swiftの処理
  // MARK: ⚡️--ライフサイクル:レイアウト処理終了メソッド
  override func viewDidLayoutSubviews() {
     // MARK:+++++ Clock Base  Setting
     makeClockBaseSetting()
  }

  // MARK:+++++ Clock Base  Setting
  func makeClockBaseSetting() {
  ・・
   // -- 表示親Viewサイズ
   let selfsize = self.view.frame.size
   // -- Imageの縦横サイズ
   let bsWorH =  (selfsize.width > selfsize.height ? selfsize.height : selfsize.width ) - 20

  ・・

  // --- 時計版文字位置用の半径Size
   let hankei:CGFloat = bsWorH / 2 - 20
   // MARK: -- 時計盤の数文字表示
   drawClockBoardMoji( hankei)
}

 // MARK: -- 時計盤の数文字表示
  func drawClockBoardMoji(_ hankei:CGFloat) {
        let lblwh :Int = 20
        let bs_center = self.view.center
        for tm in 1...12 {
            // MARK:--Status用Label
            let lbl: UILabel = UILabel(frame: TotnCGRect.CGRectMake(0,0,CGFloat(lblwh),CGFloat(lblwh)))

            //=== ※ SwiftとAndroidでは、度数角度設定が90度違うみたい!?
            let θ = Double.pi / Double(180) * Double(getKakuDo(tm) - 90 )
            let x = Double(hankei) * cos(θ)
            let y = Double(hankei) * sin(θ)

            let lbl_x:CGFloat = bs_center.x + CGFloat(x)
            let lbl_y:CGFloat = bs_center.y + CGFloat(y)

            // MARK: ==== Status用Label ==
            lbl.text = tm.description
            lbl.textColor = UIColor.blue
            lbl.textAlignment = NSTextAlignment.center
            lbl.center = CGPoint(x: lbl_x, y: lbl_y )
            self.view.addSubview(lbl)
        }
    }

ーー + ーー
struct TotnCGRect {
    // MARK: -- CGRectMake ,CGSizeMake のラッパ
    static func CGRectMake(_ x: CGFloat, _ y: CGFloat, _ width: CGFloat, _ height: CGFloat) -> CGRect {
        return CGRect(x: x, y: y, width: width, height: height)
    }
}
・VC++(MFC)の処理

// -- CClockWin2View 描画
void CClockWin2View::OnDraw(CDC* pDC)
{
   // -- 時計時間Txtの表示
   OnDrawClockText(pDC);

}

// -- 時計時間Txtの表示
int CClockWin2View::OnDrawClockText(CDC* pDC)
{
	CString cstrs[12];
	for (int t = 0; t < 12; t++) {
	  cstrs[t].Format(_T("%d"), t + 1);
	}

	COLORREF oldColor = pDC->SetTextColor(RGB(0, 0, 255)); //Blue
	LOGFONT lf;
	ZeroMemory(&lf, sizeof(LOGFONT));
	_tcscpy_s(lf.lfFaceName, _T("Arial"));
	lf.lfHeight = 80;
	lf.lfItalic = TRUE;
	lf.lfWeight = FW_BOLD;

	CFont font;
	font.CreateFontIndirect(&lf);
	CFont* oldFont = pDC->SelectObject(&font);

	//画像の縦幅、横幅を取得します
	int width = m_imgPNG.GetWidth();
	int height = m_imgPNG.GetHeight();

	int center_x = width / 2;
	int center_y = height / 2;
	int txt_w = 150;
	int txt_h = 100;

	double hankei = double(height / 2 - txt_w / 2);
	double pi = 3.14159265359;

	for (int idx = 0; idx < 12; idx++) {
	 double dd = pi / (double)(180) * (double)(getKakudo(idx + 1)-90);
	 double dx = hankei * cos(dd);
	 double dy = hankei * sin(dd);

	 int tt_x = center_x + (int)dx - txt_w / 2;
	 int tt_y = center_y + (int)dy - txt_h / 2;
	 int tt_r = tt_x + txt_w;
	 int tt_b = tt_y + txt_h;

	 CRect rect(tt_x, tt_y, tt_r, tt_b);
	 pDC->DrawText(cstrs[idx], -1, rect, DT_CENTER);
	}

	pDC->SetTextColor(oldColor);
	pDC->SelectObject(oldFont);
	font.DeleteObject();

	return 0;
}

// -- 時計数字位置用の角度の取得
double CClockWin2View::getKakudo(int idx)
{
	int CIRCLE_RADIUS = 360;
	double angleUnit = (double)(CIRCLE_RADIUS / 12);
	double kakudo = (double)idx * angleUnit;
	return (double)idx * angleUnit;
}
各処理の内容は似たり寄ったりですが、設定方法の違いは・・微妙ですwね。
ではでは。